Day 15: Five Things You Should Know About Charcoal

We’ve all had our experiments with wood, charcoal, and even gas when cooking outdoors, but did you know that charcoal was originally used for several other reasons including art, medicine, makeup, and metallurgy?

Image By DryPot – Own work, CC BY-SA 3.0, https://commons.wikimedia.org/w/index.php?curid=12649706

Charcoal in Art

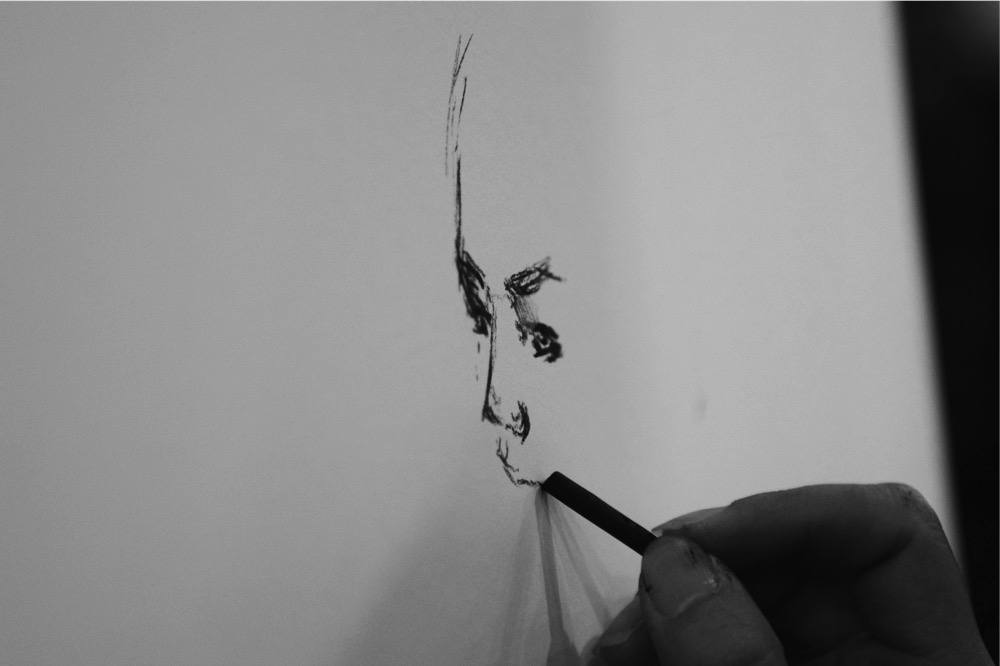
Charcoal has been used as a pigment for ages to represent the color black. From the earliest paintings and inscriptions to modern art, charcoal is a favorite among a long lineage of expressionists and artists alike. Furthermore, charcoal is microscopically absorbant and can be used as a pigment for dyes used to create black and grey fabrics.

Charcoal in Medicine

Charcoal is one of a few age old home remedies for dietary and digestive issues. For centuries people of the ancient world all the way to today have used charcoal to settle stomach aches and other digestive issues. It is so popular that charcoal is still used today in pill form to address and treat ailments.


Charcoal in Metallurgy

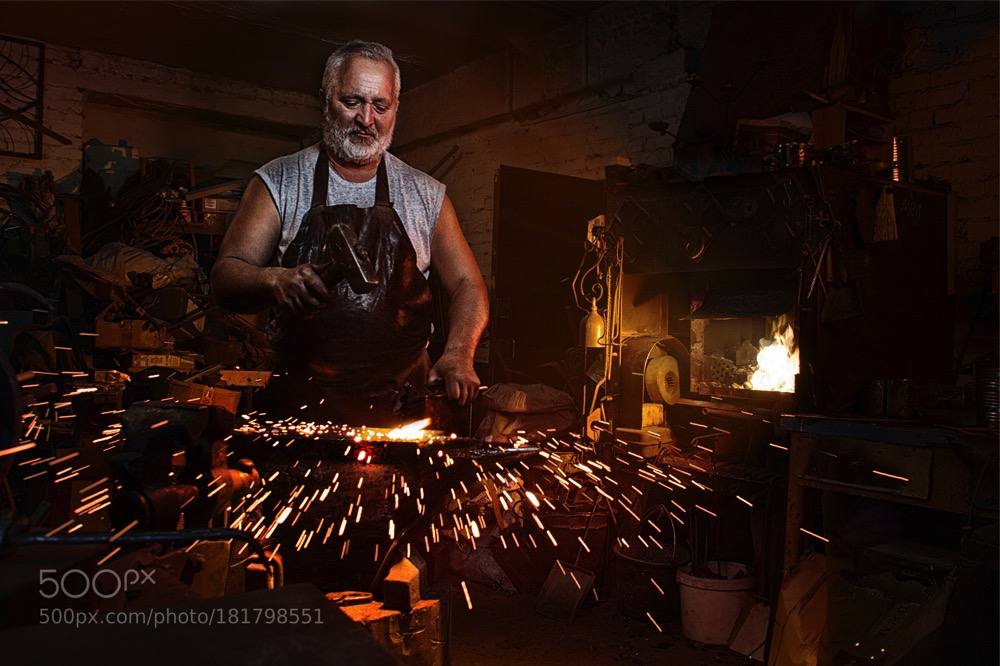
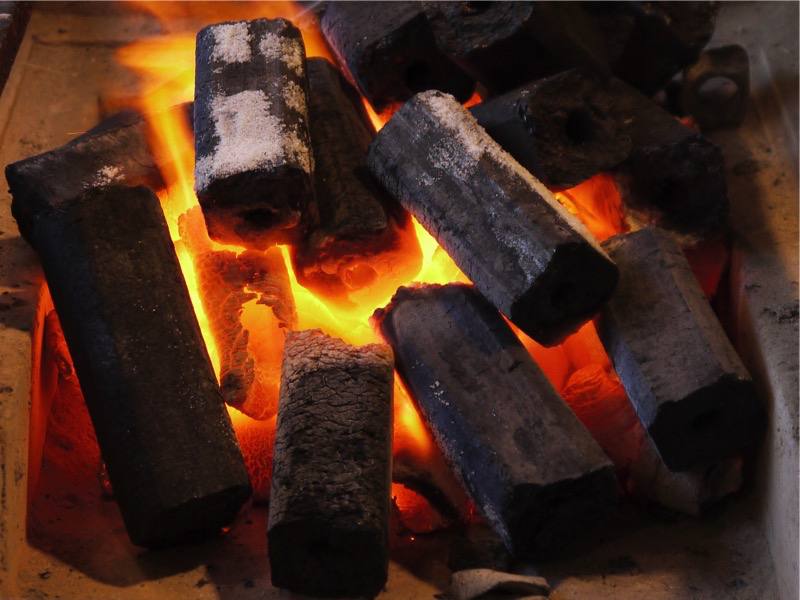
Charcoal is a fairly clean burning fuel when compared to wood and other organic rich fuel sources. That’s because charcoal has been through a process called pyrolysis, which is like fire anaerobics for trees. That means that wood or other vegetation like Bamboo, is heated to high temperatures with the absence of oxygen which consumes the organic matter and water and dries out the vegetation forming a charred black carbon substance we call charcoal. Since the wood has been burned once, the main byproduct, smoke, is cut in half leaving a combustible substance that puts out way less smoke. When you have less smoke, you can forge and weld metals with fewer impurities which allows for a better quality metal. Charcoal has fueled blacksmith forges from the early beginnings of the bronze, iron, and industrial ages throughout today.

Charcoal in Cosmetics

Like the dyes and paints mentioned before, charcoal can be ground into a microscopic powder pigment and used in a wide variety cosmetic products because it is absorbed very well by the skin and has staying power. Maybe she’s born with it? Maybe it’s Royal Oak?
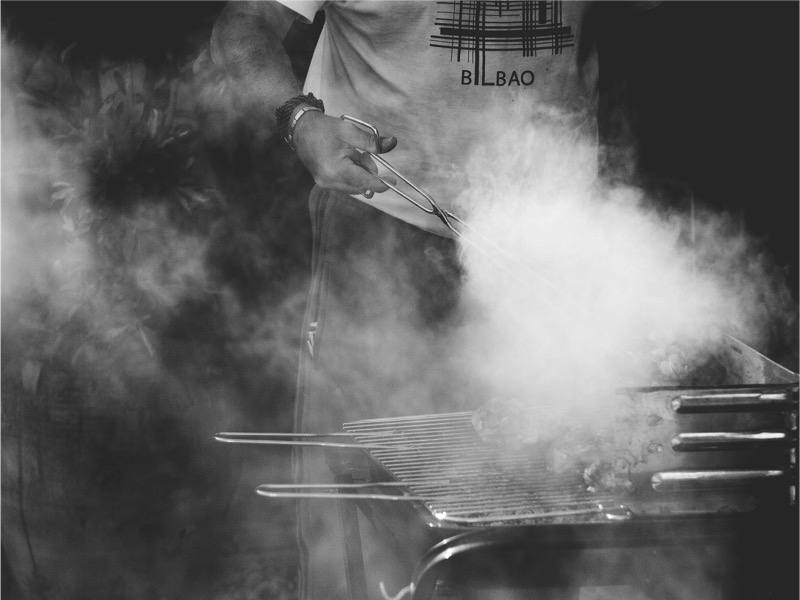
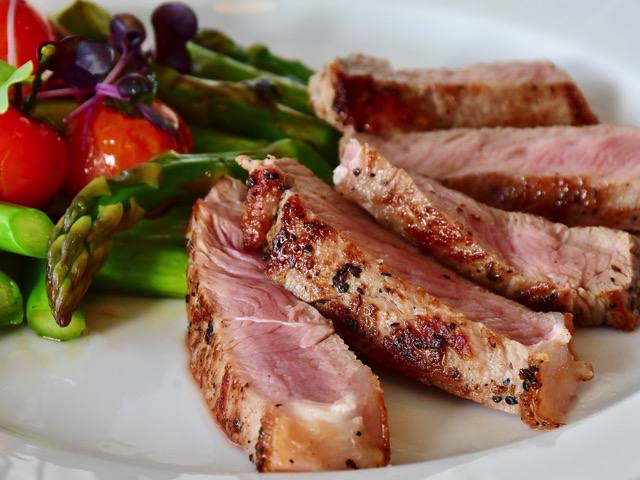
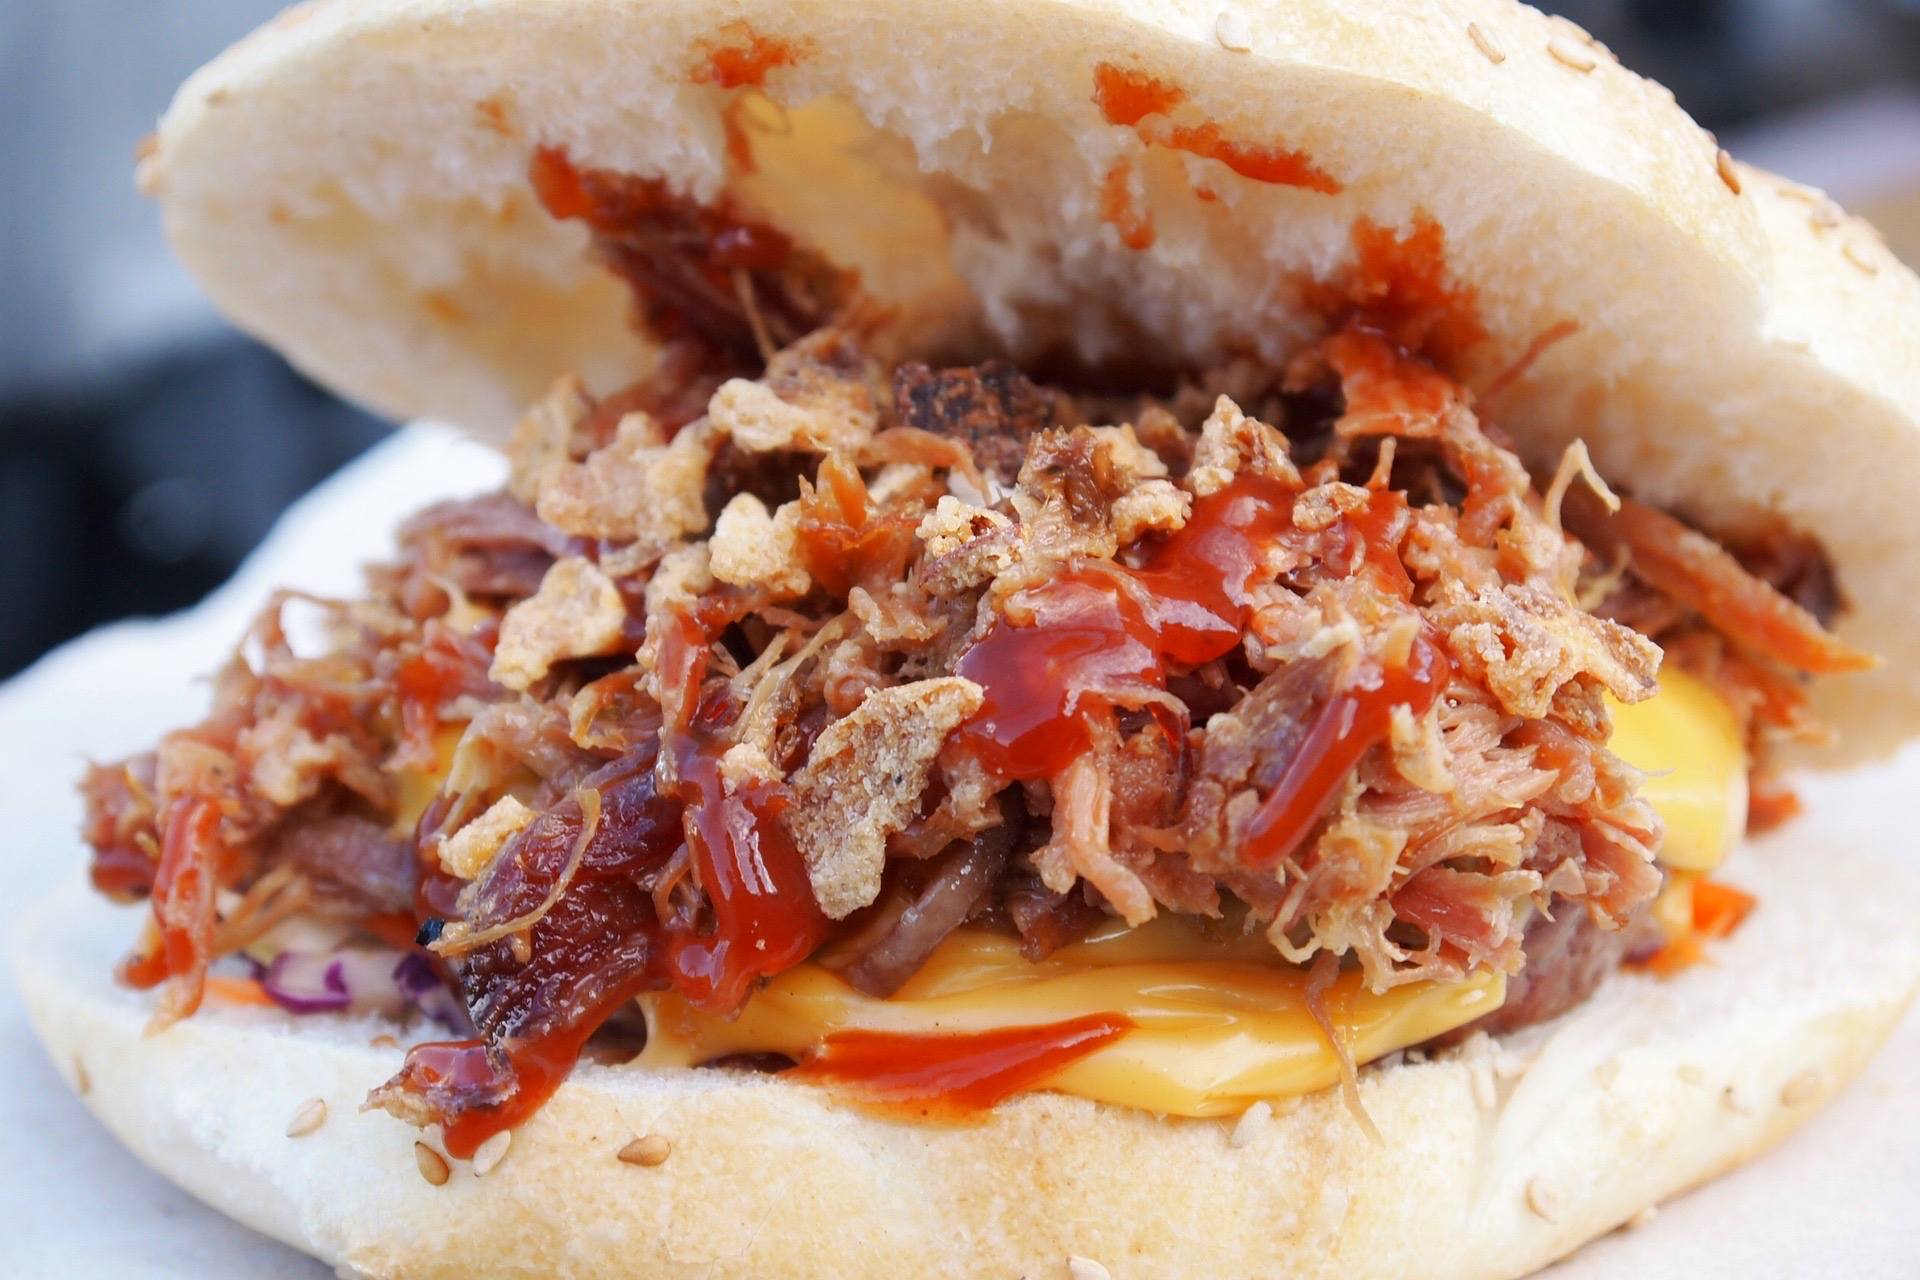
Charcoal in Cooking

Naturally charcoal is a fuel of choice for many barbecue enthusiasts, and it’s American as Ellsworth B. A. Zwoyer… Yep that’s right, charcoal as we know it in the briquet form was invented by Zwoyer in 1897 in Pennsylvania. So 6 years before the Wright Brothers were jumping off of sand dunes with a giant kite, Zwoyer was getting a patent on charcoal, literally one of the most abundant and widely used fuels in the world, because he made it into nice consistent square briquets. And you thought Steve Jobs was a visionary. LOL. This guy reinvented reburning wood and patented it.

It doesn’t stop there though, Henry Ford got into the game and changed it FOREVER. Henry Ford needed a way to recycle and reuse wood byproducts and horsefeed used in his automobile factories so he took the charcoal briquet idea and ran with it. He began producing charcoal and selling it which founded a little company called Kingsford.

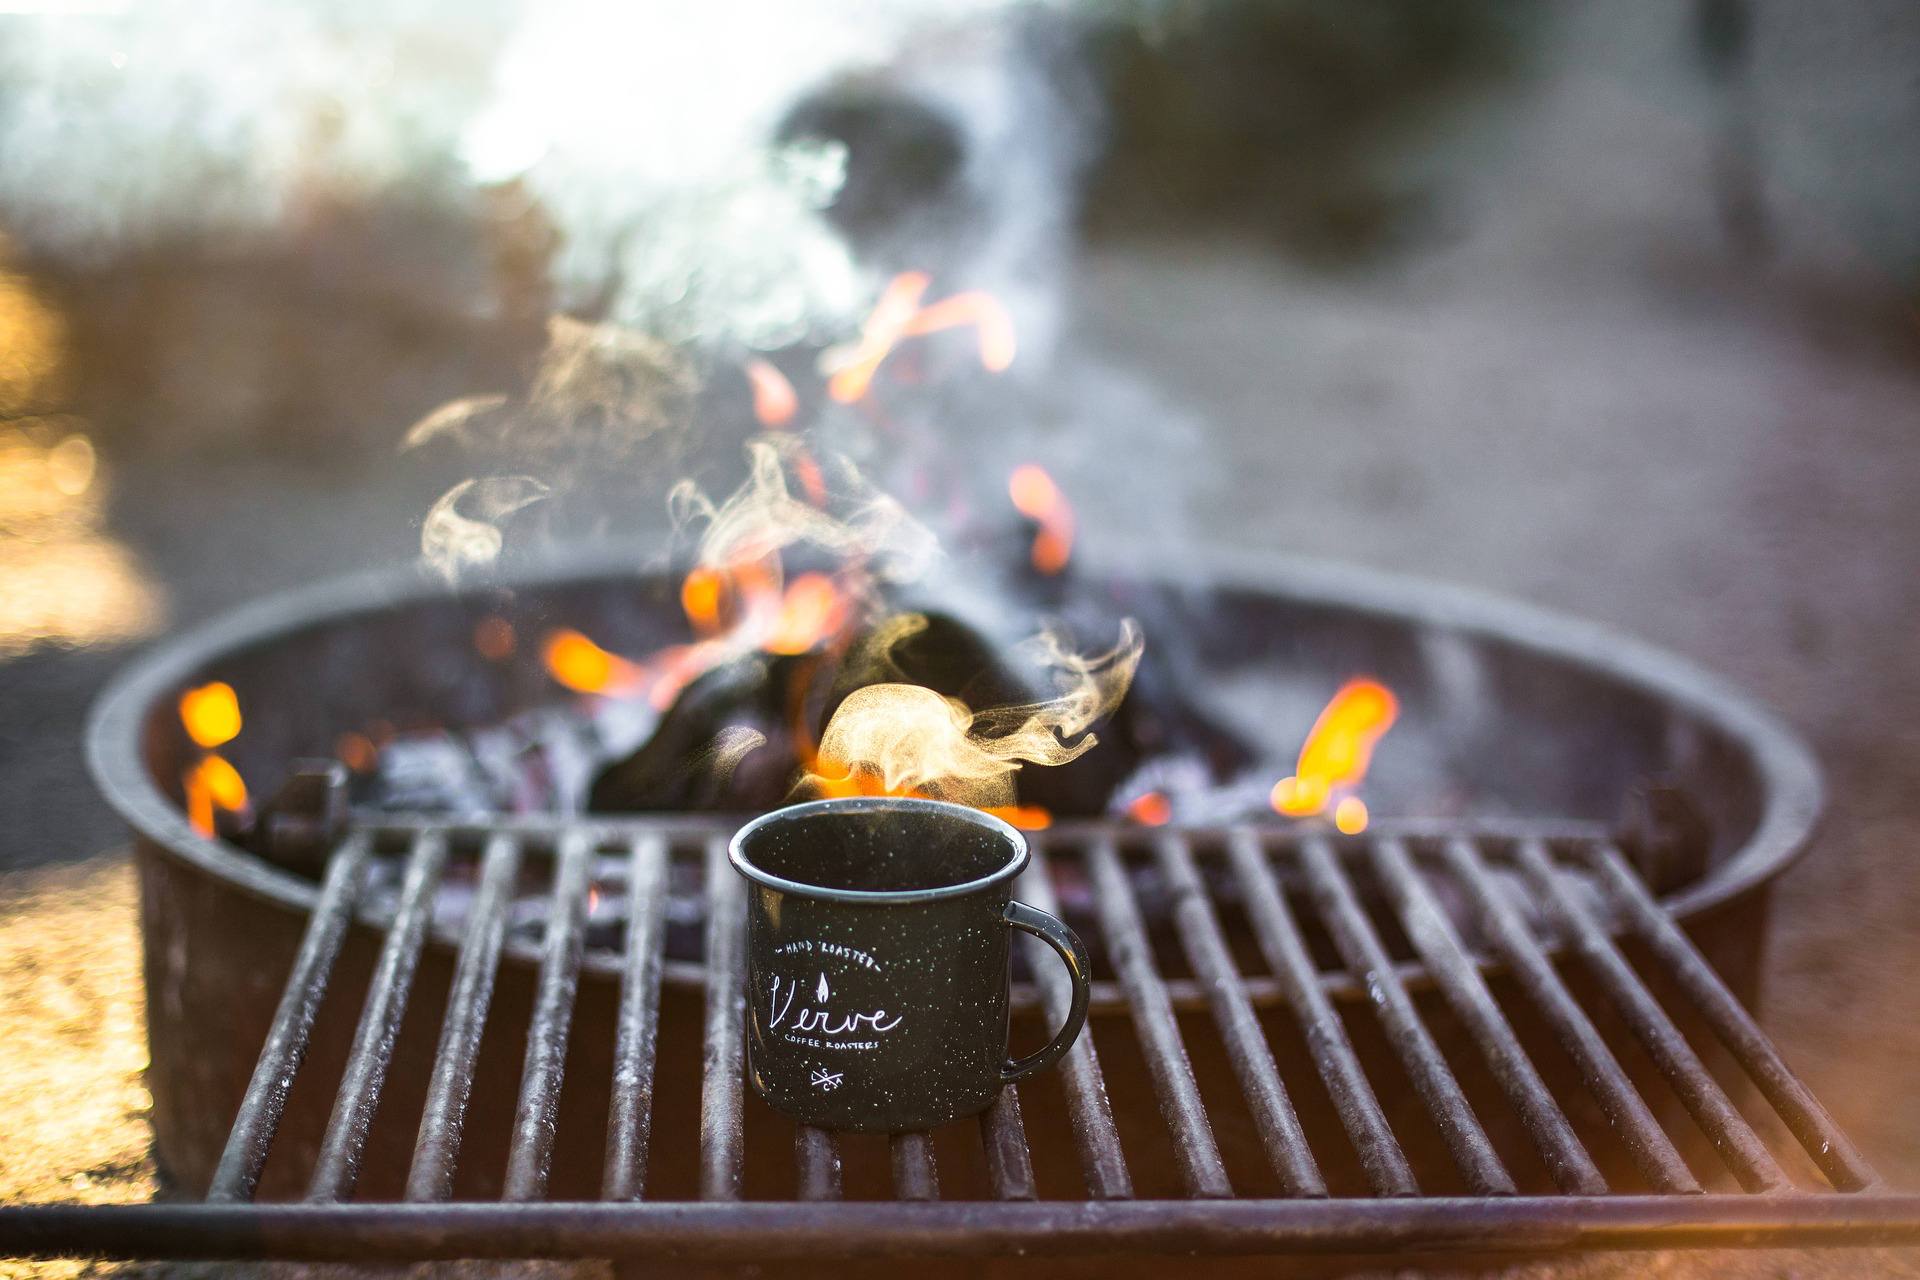
So what does all this have to do with Jim Quessenberry BBQ? Well for one you won’t be seeing us using any of Hank Hill’s propane and propane accessories, but furthermore, we prefer to cook most everything with charcoal for a smooth, longlasting, and well controlled fire. I prefer Kingsford, but Royal Oak will do in a pinch. I suppose that makes me a Ford man afterall.


Tell you what, why don’t you grab a bottle or two of the good stuff in our shop and share some of your charcoal grilling techniques with us. We’d love to hear your stories.

Day 12: Five Common Myths About Internal Temperatures.

What does anyone know about cooking to temp these days? That’s a tough question depending on the crowd. There are lots of myths and facts around cook temperatures that you should know.

Pork Doesn’t Have to Be 165 Degrees

Most if not all poultry should never be consumed prior to reaching an internal temperature of 165 degrees Fahrenheit. Most people are familiar with this as Poultry is often a carrier of Salmonella and when undercooked can lead to extreme illness or even death, but Pork is a different story. Pork on the other hand has a minimum safe temperature of 145 degrees. Pork that is reheated needs only 140 degrees.

Safe Temperatures aren’t always “Done” Temperatures

A big misconception is that the safe temperatures are when the meat is done. This is technically true when avoiding food-borne illnesses but is often lacking in tenderness if the temperature has just arrived. For instance, we cook our Boston Butts to an internal temperature of 190 degrees before allowing them to rest and continue retaining warmth in a cooler. At 190 the bone will slide right out and the pork is at maximum tenderness and moisture. This is just before it rests and we pull and serve.

Chicken Cooked Medium Rare?

No. Just no. This is dangerous and can kill you. Never ever for any circumstance think this is a good idea. Yes there are lots of dumbass people sharing images of “medium rare” chicken on Instagram but this is absolutely careless and dangerous. Never ever do this.

Pink Meat Is Always Undercooked

This is not always a simple yes or no, but for steaks, burgers, and even pork chops, this can be misleading, especially when you’re slow-cooking with smoke. Because smoked meats can turn pink with the permeated smoke in the meat, some people think the pink meat is raw when it is in fact cooked. Just don’t do this with chicken.

Last but Not Least, Rest Times Allow Meat to Cool

In most cases this is simply not true. Resting is a technique that actually allows the warming center of the meat to continue increasing temperature for a few minutes while the outside cools. This is done with steaks, pork loins, and more to reach a desired temperature thus creating an ideal first cut or bite that is cooked evenly and is very juicy.

Day 8: 5 Ways To Improve Your Indirect Heat Cooking Skills On A Small Grill.

So, you wanna improve your skills on cooking indirectly, but you don’t have a fancy offset smoker, no worries. There are a couple of tools and tricks you can use to get the desired results of indirect heat.

#1: Charcoal Basket and Drip Pan:

I often use this method on my Weber kettle grill. The basic idea here is to partition your fire to one side of the kettle using a charcoal basket. Then place a foil pan or sheet fashioned into a pan on the charcoal grate at the other side of the kettle. This will not only catch the drippings of the meat above, but it will also shield direct heat from hitting the meat by providing a buffer between it and the burning charcoal. This method is great for slow cooking ribs without a true smoker. Water can be added to the pan to make the cook chamber atmosphere more humid to aid in keeping the meat moist while cooking.

#2 Build a Brick Wall:

Let’s say you don’t have a charcoal basket for your kettle grill, or you have a different type of grill. No worries the same idea can be applied by setting the coals up at one side of the grill, and building a wall up to the cooking grate with bricks. The wall will provide the buffer between the meat and fire that is desired, and also once the bricks are warm, they will provide consistent heat as it slowly permeates through.

#3: Ring of Charcoal or The Snake Method:

This method is some what new to my bag of tricks, but i have found it to be very useful when I want to smoke a Boston Butt, but don’t want to break out the huge smoker or don’t wanna spend lots of money on tons of charcoal to smoke one butt on a larger smoker. If you have a small smoker you won’t need this method, but again if you have a Weber kettle grill or even a cheap burger and hotdog cooking tailgater, you can use this method and put some delicious slow smoke on a Boston butt or turkey or any thing that can fit in your small grill. So here is how you set it up. Take charcoal brickets and neatly stack them around the perimeter of the charcoal grate where it meets the side of the kettle. Leave space between the start and end of the ring so you don’t accidentally burn both ways at the same time. Start your fire on one end and it will slowly burn around the perimeter for many hours, at a nice low and slow pace. You can also sprinkle your favorite wood chips over the ring of charcoal to keep a steady regimen of smokey goodness cooking into the meat. I like to start my fire so that it burns clockwise, it helps indicate what hour of cooking I’m in. After you start your fire. place the cooking grate over it and place your meat in the center of the cooking surface. I like to place Boston Butts it in an aluminum pan, but leave the pan uncovered. It lets the Butt get the flavorful smoke, stay moist because it cooks in it’s own juices, and it acts as a buffer between the fire and the meat.

#4 The Stack Add-On:

There are a few different extensions you can add on to Weber kettles that move the cooking surface higher above the coals for a slower cook. In this type of situation the coals are still under the cooking surface, but not close enough to flame kiss a steak. If you are like me you like the idea of having the versatility of an add-on like that, but never think to buy one. I think it’s funner to create indirect heat using the methods mentioned above.

#5 Electric Smoker:

If you have access to electricity this is one of the easiest and consistent ways of smoking and using indirect heat. The heat is provided from a heating element much like an electric oven, and the smoke is typically created by feeding wood pellets or pucks via an auger or conveyor into the heating element creating smoke. These smokers are nice to have when cooking at home, but are generally not permitted in BBQ contests, as they make things way to easy and consistent. Taking the skill out of it.

I hope you enjoyed this article, as you can see the basic idea is to move the food away from direct heat to slow down your cooking process, and add that wonderful flavor we all love. Come back tomorrow for more BBQ tips, tricks, and stories!

-Michael Q

Day 6: Introducing A Revolutionary Method To Master Reverse Seared Pork Chops.


Remember that time when we did that one recipe with a gas grill? Me either so that’s not the revolutionary method, but I’ll tell you what is; cold smoking that delicious hunk of pork that we call a pork chop and then sizzle it on both sides to create a delicious, mouth watering, morsel of delectable perfection. I’m bout to blow your mind.

So there’s a few things to remember here.

  • You’re gonna need an effective way to slow smoke or cold smoke the pork chops to an internal temp of say 130 degrees or thereabout.
  • You need pork chops.
  • We’re going to use Jim Quessenberry’s Sauce Beautiful White and Hickory Rub so head over here and order those.
  • Get some asparagus or some other kind of fancy veggies that you want to steam, smoke, or grill.
  • Lemon Juice or fresh lemons and some butter.
  • A hot flat iron skillet.

So first things first, let’s get a nice indirect heat source, preferrably with charcoal or a fruit wood for added flavor and let it mellow out to some nice glowing coals. You don’t want to flame kiss the chops. This part is important for the preparation and flavor. Use a water pan or a divider if you have to but we’re seriously only looking for a smoke source with a little bit of heat.

Next, while that is underway, make sure the pork chops aren’t some “bargain bin 5 for $25” pieces of thin boot leather. Get some 1/2” to 3/4” thick cuts. Don’t be a cheapskate. If you wanted pork jerky you could have gone to a gas station. Let these dudes rest up to room temperature. That will allow the meat to absorb the smoke better when you place them on the heat source.

Now that you’ve let them rest and the fire has a nice glow, place them indirectly over the heat source and let them get some of that fruity goodness of those apple chips smoking. Do this for a few minutes until the inside temp of the chop is like 125-130 or so and then remove them and let them rest once more.

While they are resting, stoke up your fire to a really hot temp and put your trusty ole flat skillet directly over the heat to get damn near red hot. While that’s in progress, dash some Hickory Rub on all sides of the chops while glazing them with a little bit of butter. Let that sit for a minute or two.

Once the surface of the hot plate or iron skillet is extremely hot, drop the chops on it and let them sear for up to 2 minutes on each side. This will tap all the juices in and crust up the seasoning on each side for a flavorful bark. Remove them and place in a warmer or indirect heat chamber while the veggies are being done.

For the veggies, a buttery grilled medley of asparagus, brocolli, cauliflower, and red cabbage will make a savory dish worthy of a five star restaurant. If you are wanting a contrast with a more natural flavor from each vegetable, simply opt for a steamed version of the medley. Top with some cherry tomatoes and you’ve got a side. If you want to add a little starch, go for rice pilaf or scalloped sweet potatoes.

Once the sides are ready and the chops have been seared, plate them with a drizzle of Jim Quessenberry’s Sauce Beautiful White* over the chops with a spritzer of lemon juice over the entire plate. Serve and enjoy.

*Jim Quessenberry Sauce Beautiful White is not affiliated with Reid Martin’s Sauce Gorgeous El Blanco.

Oh by the way, the revolutionary method is to allow the meat to rest between cook times. This may not be obvious, but when you do it right and realize how good it all turned out, you’ll see what I mean. In a fast paced world, sometimes you have to savor the flavor to enjoy things.

Day 5: The Ultimate Glossary of Terms About Barbecue

Lots of things have happened lately in our little part of the world of barbecue, but it’s been such a busy day that I haven’t had time to tell you all a story. Instead, I have challenged myself to think of as many slang, jargon, and technical terms about barbecue so that you can have a laugh or become more knowledgeable or both.

Texas Crutch – This is a technique where simply wrapping the entire cut of meat, whether pork or beef, in aluminum foil to speed up the cook time and tenderize the meat. It allows very little moisture to escape and significantly decreases the time it takes to reach a desired internal temerature. Some frown upon it, but we use it in many different cases for a variety of simple and effective reasons.

Indirect Heat – Cooking a piece of meat that is offset from the heat of the grill or firebox. The heat is transferred through convection to the meat for a slow and juicy cook. When mixed with smoking techniques you get a juicy and delightfully smoky flavor.

Direct Heat – Just like it sounds. Steaks, burgers, and pork chops are mostly cooked on a hit grill or surface directly over the source of heat. Think conductive heat.

Cold Smoking – It’s not quite what it sounds, but cold smoking is when you cook meat slowly, and I mean s-l-o-w-l-y over a reduced amount of heat. Think of a smokehouse that makes smoked jerky. The cooking is done at temperatures often in the 100-200 degree range and over several hours to days. It’s a unique and traditional form of cooking where meat is often hung up in closet sized sheds and smoke is flowed through the chamber from a very indirect heat source.

Temps – Slang for checking the temperatures of both the meat and your smoker or grill.

Whole Hog – Literally a whole pig that is roasted over a fire or indirect heat.

Babyback Ribs – Ribs from the back near the loin of a pig.

Spare Ribs – Ribs from the bottom or stomach area of the pig.

Yard Bird – Chicken.

Marinading the Chef – Drinking beer, booze, or spirits while you wait on a large cut of meat to cook.

Dry Ribs – Ribs that are often associated with Tennessee characterized by an abundance of chili powder, paprika, red pepper, or other spices to form a dry texture on the surface of the ribs. Traditionally served without barbecue sauce on them.

Wet Ribs – Ribs served with an abundance of barbecue sauce slathered onto the surface of the ribs.

Well Done Steak – To plead with the chef or grillmaster requesting that you’d like to be punched directly in the face for being a giant moron with terrible taste.

Turbinado Sugar – Raw sugar from the cane.

Red, White, and Black – A commonly used rub recipe consisting of chili powder, salt, and black pepper.

White Sauce – Something Big something Gibson something something Alabama tradition… We sell our own. You can buy it here.

Table Sauce – A sauce like Heinz 57, A1, Worcestershire, etc.

Serving Sauce – A sauce you would serve your BBQ dish with or prepare the dish with near the end of the cook or just after when you’re ready to serve. Could be considered a finishing sauce.

Thermometer – A fancy heat measuring device that nearly always goes missing.

Hickory – God’s gift to mankind so fire would have purpose.

Gas Grill – Something you take to a metal recycling facility for pocket change.

Have any others you’d like to add? Send us a comment below.

Day 3: Why We Love Smoked Pork (And You Should, Too!)

There are many delicious forms of barbecue, but our favorite is very obviously pork. There are a lot of good reasons for this and you will probably agree that they are all worthy of your attention.

Whole Hog

One of the most ambitious cooks you will ever try is the whole hog. It is a lesson in patience, skill, and technique that few have experienced, but it is worth every minute of experience. When you smoke a whole hog, you better set aside at least 2 days of going nowhere and staying on top of your assignment.

The whole hog is very rewarding and will feed dozens of people. The meat is very tender throughout the shoulders, ribs, and ham areas. When cooking a whole hog it is good to remember that you have time to get it done right. Always set aside 24 – 30 hours of time including prep and serving so that you can enjoy the fruits of your labor.

The whole hog has a distinct and mouthwatering flavor that is unlike any portion of the hog that you might have otherwise cooked separately. You haven’t lived until you’ve eaten a baby-back rib cut directly from the animal. It is absolutely the freshest, juiciest, and most flavorful way to eat baby-back ribs. Follow Michael’s instructions here for an experience that is like none other. Be sure to pick up a few bottles of sauce or rub beautiful to go with the hog.

As a child I remember seeing my first whole hog cook at a BBQ competition. To me it looked like something you would see a tribe cook on some island far away from Arkansas.

Michael Quessenberry
https://jimquessenberry.com/going-whole-hog/

Ribs

My favorite barbecue dish has to be baby-back ribs. Sure there are spare ribs and St. Louis style ribs, but my favorite are baby-back ribs hands down. Let’s break it down. Spare ribs are from the belly and are meatier, larger in size, and often times tougher than baby-back ribs which come from closer to the loin. Because of this, baby-back ribs are more tender and take less preparation and cooking to get a wonderful and flavorful entree. St. Louis ribs are basically just trimmed and squared spare ribs. They’re uniform in appearance and have less grissel on them, but don’t be fooled, they aren’t “back” ribs.

Some folks like “dry” ribs, which when done properly, I LOVE, and some folks like to get messy with saucy wet ribs. I like something a bit more in the middle. My ribs tend to have the chew of a dry rib with a glazy candy shell similar to my shoulders or butts. Using Rub Beautiful and Sauce Beautiful as a glaze, the ribs come off the smoker with a very thick and satisfying bark that will leave you wanting more even if you’re full.

For more information on how I prepare ribs, see Lock and Load Ribs.

Pulled Pork

Ah the classic pulled pork sandwich, an American staple. Although the best sandwiches are often a mix of pulled pork from a whole hog, the traditional pulled pork sandwich is made from the shoulder, butt, or picnic ham portion of the hog cooked on its own, pulled and/or chopped, and placed between two buns with a dollop of homemade coleslaw topped with a squirt of Sauce Beautiful to complete the perfect BBQ sandwich.


When cooking a butt or shoulder, I generally season and coat the meat with a very liberal amount of Rub Beautiful and place the meat with the fat side down (to prevent bitterness and greasy meat) on the grate with an indirect heat source. Then I smoke the meat about 4-5 hours to get a good smoke ring in the meat. I do this at about 225-250 degrees. After 4-5 hours, wrap the shoulder or butt in aluminum foil and finish it off to about 195 internally. The bone should wiggle free without hassle when the temp hits 195 to 200.

Pull the meat and/or chop it and serve on sandwiched. Your mouth and friends will thank you.